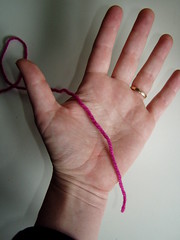
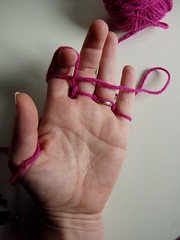
2. Take the working yarn (yarn coming off of the ball) and wrap it completely around the first finger in a clockwise motion.
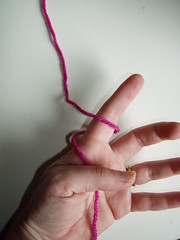
3. Wrap the yarn completely around each finger, in a clockwise motion. When you're done, the working yarn should be hanging off the back of the pinky finger.
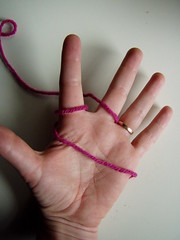
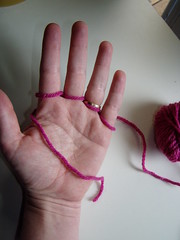
4. With palm facing up, lay the working yarn across all four fingers, from the pinky finger to the index finger, above the loops created from steps 2 and 3. The loops created in steps 2 and 3 are now the bottom loops. The yarn drapped across all four fingers is the top loop.
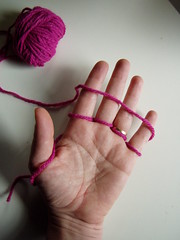
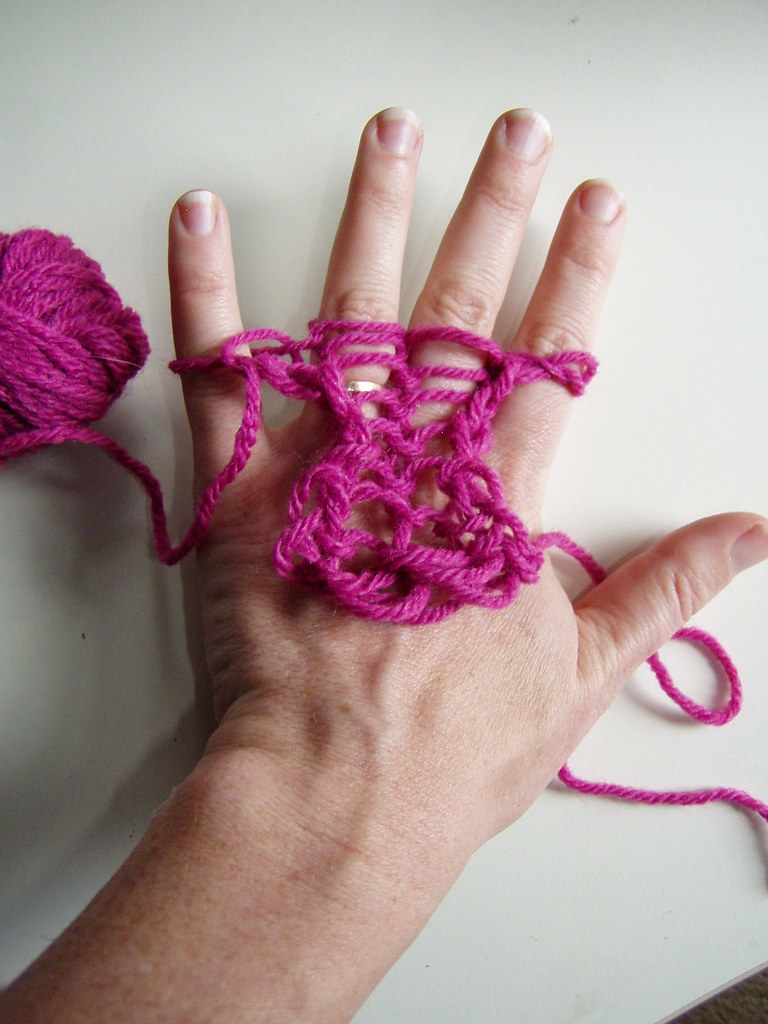
5. Beginning with the pinky finger, pull the bottom loop up and over the top loop and then off of the finger.
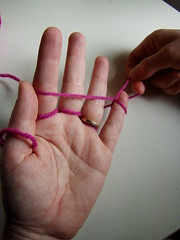
6. Repeat for each finger across to the index finger. When you've worked the bottom loop off of each finger, the yarn should be hanging off the back of the index finger.
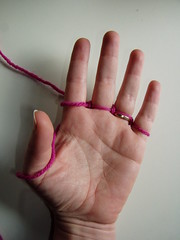
7. Lay the working yarn across all four fingers, from the index finger to the pinky, above the loops created from steps 5 and 6.
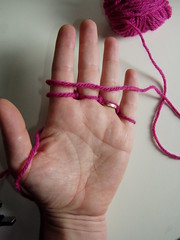
8. Beginning with the index finger, pull the bottom loop up and over the top loop and then off of the finger. Repeat for each finger across to the pinky finger.
Repeat steps 4-8 until you've reached the desired length.
To fasten off (photos to come)
1. Beginning with the loop next to the working yarn, slip the loop off the finger and put it on the next finger. This loop becomes the top loop.
2. Pull the bottom loop up and over the top loop and off the finger.
3. Take the remaining loop off the finger and put it onto the next finger.
Repeat steps 2 and 3 until there is only one loop remaining. Cut the yarn, remove the last loop and thread the tail end through the loop and pull to form a knot. Weave in ends.
Options:
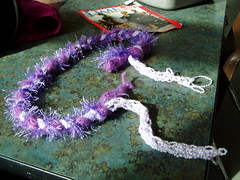
Use the same process on one to four fingers to adjust the width of the piece.
Use two or more strands of yarn together to make the piece thicker or to add more colors.
Make several pieces and braid them together.
Additional finger knitting resources with slight variations:
Knitty
Video: DIY Knitty Gritty


